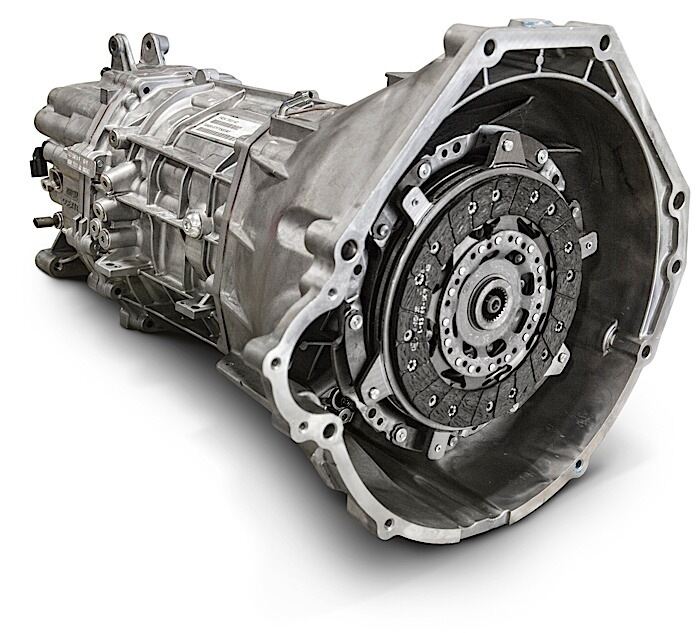
Diagnosing clutch and manual transmission noise can be a difficult diagnosis. There is no way of attaching a scan tool or looking into the bellhousing while the clutch is under load. Clutch diagnostics requires logic and understanding of how the parts interact.
The most troublesome parts of a clutch are not the friction components; they are the components that engage, disengage and align the disc with the cover and flywheel. These components are critical to a comeback-free clutch replacement job.
Dial Indicator
The most important tool for servicing a clutch is a dial indicator. It is the key to measuring runout, endplay and the alignment of the clutch, engine and transmission. Never take it for granted or skip using it when replacing a clutch. Using one is a lot cheaper than having to waste time on a comeback.

Pilot Bushings and Bearings
To check for a noisy pilot bushing, begin listening for noise after starting the engine. Listen for noise with the engine running, the transmission in gear, and the clutch pedal to the floor. The clutch is released, but the transmission is in gear, which causes the engine crankshaft to spin around the held transmission input shaft. Noise under these conditions indicates a worn pilot bushing or bearing, or a worn release bearing.
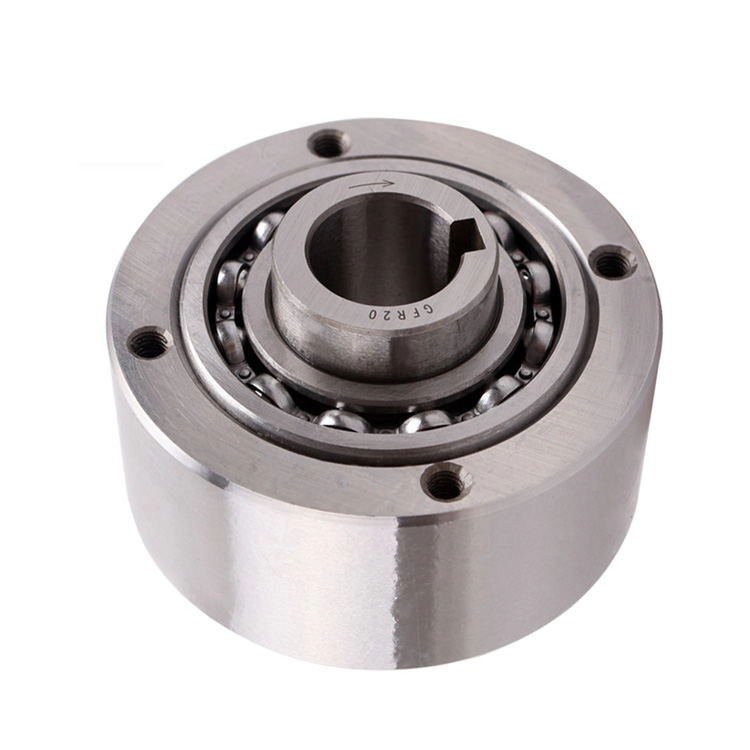
CKZF-B Series Flywheel Backstop Clutch
To isolate the pilot bushing or bearing from the release bearing, keep the clutch pedal on the floor and shift the transmission into neutral. If the noise persists, the release bearing is defective since the input shaft is now free to rotate. A bearing noise that occurs if you release the pedal to engage the clutch while in neutral, but goes away when the pedal is depressed, is caused by a defect on the transmission’s input shaft bearing.
A bushing that drags or sticks can cause grinding gears during shifts and can lead to misalignment of the clutch disc hub assembly. If the bushing or bearing locks up completely, it is impossible to disengage the clutch. The transmission and clutch assembly must be removed to service the pilot bushing or bearing and the clutch release bearing.

The pilot bushing or bearing, press-fit into the crankshaft flange, centers the transmission input shaft and absorbs loads caused by disengaging the clutch. Some designs are a solid bushing, while others are a sealed ball bearing or caged roller bearing. Often, the pilot bearing is replaced as a precautionary measure whenever the clutch is replaced.
To inspect a bushing, look for signs of galling, scoring, discoloration, or uneven wear along the inside diameter. Replace the bushing if any damage is found. With a sealed ball bearing, slowly rotate the inner race by hand. If the bearing binds or does not rotate smoothly, replace it. Inspect the rollers of a caged roller bearing for nicks, scores, flaking or other damage. Replace the bearing if the rollers do not rotate smoothly in the cage. Remove a pilot bushing or bearing using a slide hammer fitted with a blind bearing puller adapter. All pilot bearings are installed with an interference fit and can require a considerable amount of force to remove.
A snap ring generally holds a ball bearing pilot in the crankshaft, and caged bearings may have a lip seal installed on top of them. Remove the snap ring or seal to access the bearing. Remember to lubricate the input shaft with the grease recommended by the manufacturer of the replacement clutch or the OEM.
The main killer of pilot bearings is the misalignment and/or mishandling of the transmission during installation. Always align the input shaft precisely with the opening in the center of the clutch disc. Slide the transmission forward to engage the input shaft splines with the clutch disc hub. Then, push the transmission forward so that the end of the input shaft engages with the pilot bushing in the flywheel. Never force the transmission into place or allow its weight to hang on the clutch disc as this can damage the disc hub.

On vehicles that have a separate bellhousing and transmission, the bellhousing must be correctly aligned with the engine and the transmission. Correct alignment ensures proper clutch and transmission operation and the prevention of bearing noise. Correcting excessive bore runout can be done using alignment dowels on the back of the engine, machining the bellhousing, or using special shims.
Throwout Bearings
It is not possible to test the release of throwout bearings. It is even more difficult to find specifications. Always replace the throwout bearing whenever the clutch is removed for service. A faulty release bearing will make more noise when a load is applied, such as when the clutch pedal is depressed.

Clutch Forks
Clutch forks take a lot of abuse. Inspect the entire clutch fork for signs of cracking, distress and metal fatigue. Pay close attention to the positions of the release bearing mounts and the ball stud pivots, and be aware of the linkage connection. The finger and pivots can wear over time. Look for a binding linkage that tilts the release bearing, causing uneven wear and hindering smooth travel. If there is any wear or damage, replace the fork. If a damaged fork is reinstalled it can compromise the life of the clutch disc.
Clutch Slave Cylinder
Inspect the slave cylinder for leaks at the dust boot. If the slave cylinder is mounted in the transmission bellhousing, it is recommended to replace it anytime the clutch is replaced. On externally mounted slaves, replace only when leaks are detected.
If a slave is replaced, its life can be shortened by contaminated brake fluid. If the master shares the same reservoir as the brakes, a full flush may have great benefits to the life of the slave.

Dealing With Dual-Mass Flywheels
Dual-mass flywheels are designed to absorb the power surges in the crankshaft to not only smooth out the power, but also reduce small slips while the clutch is engaged to improve wear on the friction material of the disc.
Dual-mass flywheels require additional inspection procedures. Some diesel-powered vehicles are equipped with a dual mass flywheel to isolate high crankshaft torque spikes prevalent in many diesel engines. These spikes are created under load during the power stroke.
In spite of the functional advantages that dual-mass flywheels have over conventional one-piece solid flywheels, some dual-mass flywheels have proved to be troublesome and prone to premature failure. The dual-mass flywheels in early Ford 6.9L and 7.3L F-series diesel trucks have experienced a high rate of failure because of a weak spring design in the OEM flywheel. Spring fatigue and failure cause the flywheel to make a rattling or clunking noise when the clutch is engaged. Depressing the clutch pedal may stop the noise.
Another problem that has been reported is a vibration/moaning condition. The cause is an imbalance between the engine, flywheel and clutch that is induced by the dual-mass clutch being stuck in one position.
The service life of most OEM dual-mass flywheels is typically about the same as the clutch, which means the flywheel usually needs to be replaced when the clutch wears out. If you simply bolt in a new clutch, chances are your customer will have flywheel problems at some point down the road because of the weakened springs in the flywheel. That’s why many experts recommend replacing a dual-mass flywheel when changing a clutch, especially if the flywheel has more than 80,000 or 90,000 miles on it. The flywheel should be considered a wear item just like the clutch, and should be replaced when a new clutch is installed.

Before Assembly
Always check the flywheel for runout. Also, check crankshaft endplay by pushing the flywheel toward the front of the engine and zero the dial indicator. Pry evenly on both sides of the flywheel, release, and read endplay on the dial indicator. Compare to specifications and correct as needed on reassembly.
Before you remove a flywheel, mark its position in relation to the crankshaft to prevent imbalance when the flywheel is reinstalled. This is also critical if the flywheel has a reluctor wheel for the crankshaft position sensor. Nothing is worse than the vehicle not starting or the check engine light being on because the flywheel is out of alignment.
Always check the condition of the seal on the input shaft of the transmission and crankshaft. On high-mileage vehicles, the seals should be replaced if there are any signs of a leak. Also, make sure the breathers for the transmission are unobstructed.


