Nov . 23, 2024 04:18 Back to list
changing motor bearings
Changing Motor Bearings A Comprehensive Guide
Motor bearings are integral components in machines that facilitate smooth movement and reduce friction between moving parts. Over time, these bearings can wear out due to heavy usage, lack of lubrication, or environmental factors. Consequently, it’s essential to know how to change motor bearings effectively to ensure the longevity and functionality of your equipment. This article provides a detailed guide on changing motor bearings, including signs of wear, preparation steps, and the replacement process.
Understanding Motor Bearings
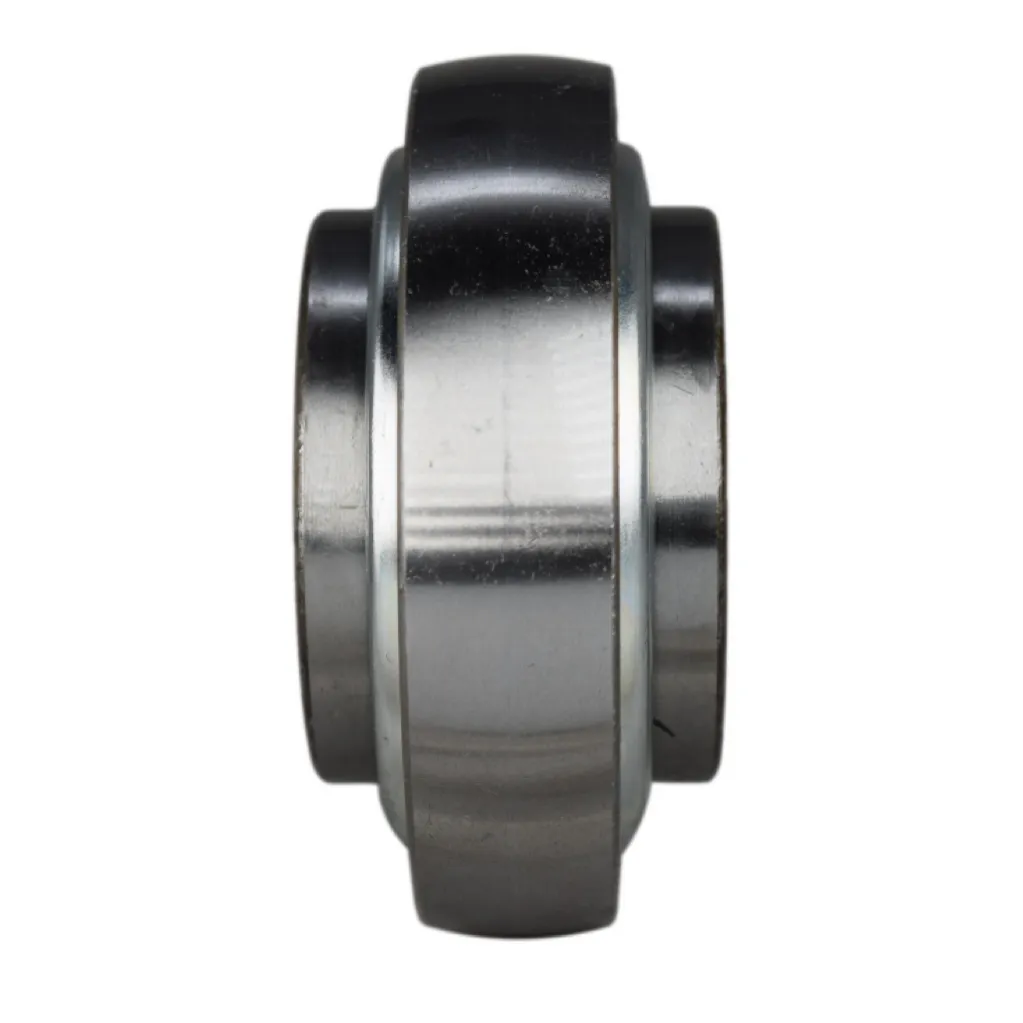
Motor bearings are found in various machines, including electric motors, fans, and pumps. Their primary function is to support rotating shafts and reduce friction. Bearings can be classified into different types, such as ball bearings and roller bearings, each with specific applications and load capacities. Understanding your motor's bearings is vital before undertaking a replacement.
Signs of Worn Bearings
Recognizing the signs of worn bearings is crucial for timely maintenance. Common indicators include
1. Unusual Noises Grinding, rumbling, or squeaking sounds often suggest that bearings are failing. 2. Vibration Excessive vibration during operation can indicate misalignment or bearing wear. 3. Heat Generation Overheating is a sign that the bearings may not be lubricated properly or could be damaged. 4. Visible Wear Occasionally, a visual inspection may reveal pitting, rust, or other forms of damage on the bearing surfaces.
Ignoring these signs can lead to more severe issues, including motor failure, which can be costly and time-consuming to repair.
Preparation for Bearing Replacement
Before starting the replacement process, proper preparation is essential. Follow these steps
1. Gather Tools and Materials Ensure you have the necessary tools, including wrenches, screwdrivers, pliers, a bearing puller, grease, and the correct replacement bearings. 2. Consult Documentation Refer to the motor's service manual for specific instructions regarding the bearing type and replacement process. 3. Safety Precautions Turn off the power supply to prevent accidents. It is also advisable to use safety goggles and gloves during the procedure.
changing motor bearings

Steps to Change Motor Bearings
1. Disassemble the Motor Begin by carefully removing any covers, end bells, or casings to access the bearings. Take note of how parts are arranged, as you will need to reassemble them later.
2. Remove the Old Bearings Use a bearing puller to extract the old bearings from the motor shaft. Apply steady pressure to avoid damaging the shafts or surrounding components. If the bearings are stubborn, consider using gentle heat to expand the housing slightly.
3. Clean the Shaft and Housing Before installing new bearings, clean the shaft and housing thoroughly. Remove any debris, old grease, or contaminants that could affect the new bearings' performance.
4. Install New Bearings Carefully place the new bearings onto the shaft and into the housing. Make sure they are seated correctly and that there is no gap. Applying a light amount of grease can help ease installation and improve lubrication.
5. Reassemble the Motor Once the new bearings are in place, reassemble the motor by following the reverse order of disassembly. Ensure that each component is aligned correctly and securely fastened.
6. Perform a Final Check After reassembly, conduct a visual inspection to ensure everything is in place. Rotate the motor shaft manually to check for smooth operation without excess friction.
7. Test the Motor Reconnect the power supply and test the motor at a low speed initially. Listen for unusual noises or vibrations and monitor its heat generation during operation.
Conclusion
Changing motor bearings may seem daunting, but with the right tools, preparation, and careful execution, it can be completed successfully. Regular maintenance and timely replacement of bearings not only extend the lifespan of your motor but also enhance overall efficiency, saving costs in the long run. By following this guide, you can ensure that your equipment remains in top condition and continues to operate smoothly for years to come.
Latest news
-
25MM 2 BOLT UCFLX05-14 Flange bearing unit( oval)
NewsMar.07,2025
-
4 bolt UCF 200 series Pillow block bearings
NewsMar.07,2025
-
25MM 2 BOLT UCFLX05-14 Flange bearing unit( oval)
NewsMar.07,2025
-
UCF216-50 4-Bolt Flange Housing Square Bearing
NewsMar.07,2025
-
25MM 2 BOLT UCFLX05-14 Flange bearing unit( oval)
NewsMar.07,2025
-
spherical roller bearing material exporter
NewsMar.07,2025


